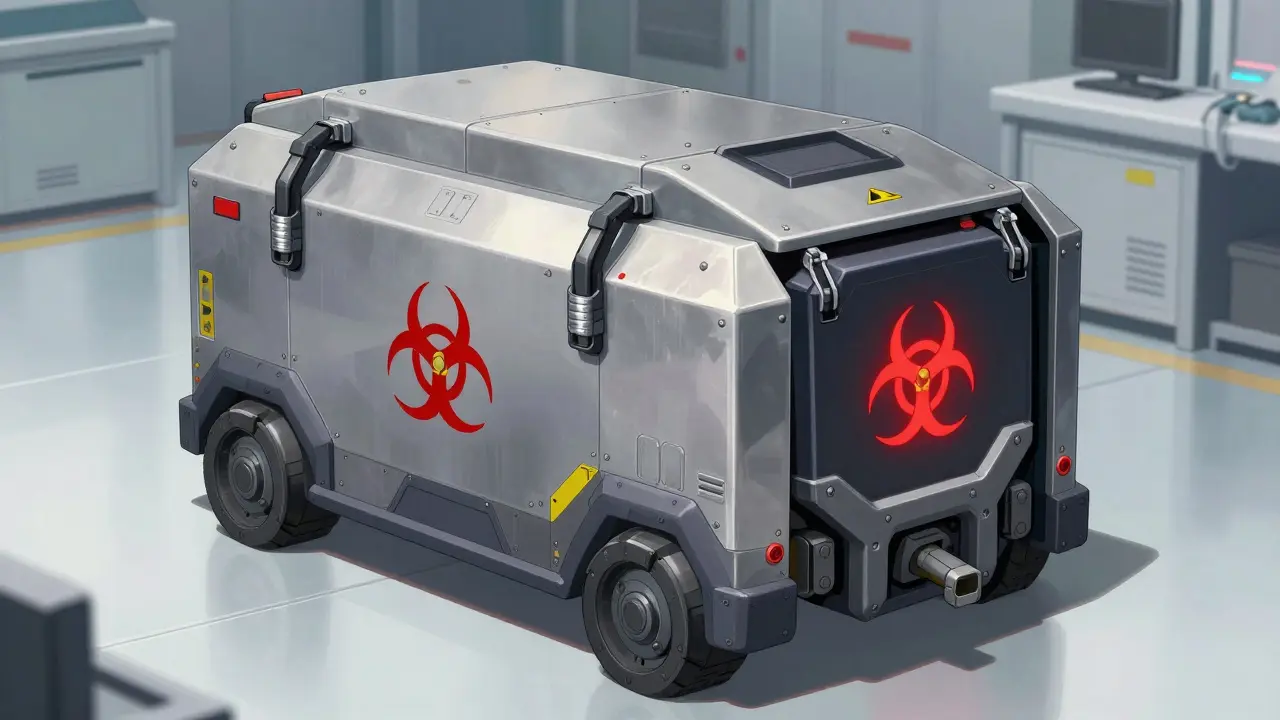
You just finished your insulin shot. Or maybe you’re a parent managing a child’s diabetes, or someone treating chronic pain with injectable medication. The syringe is empty, but now you have a sharp, potentially contaminated object in your hand. What do you do? You don’t throw it in the trash. You don’t flush it. And you definitely don’t leave it on the counter.
Improper sharps disposal isn’t just a messy habit; it’s a serious public health risk. Every year, thousands of sanitation workers, recycling plant employees, and even children suffer needlestick injuries because used needles ended up in regular garbage bins. These injuries can transmit life-threatening bloodborne pathogens like HIV, hepatitis B, and hepatitis C. The good news? Disposing of these items safely is straightforward if you follow the right steps. Here is exactly how to handle, store, and dispose of your used needles and syringes without putting yourself or others at risk.
What Counts as a "Sharp"?
Before you start sorting, you need to know what you are dealing with. In medical terms, a "sharp" is any device that has a point or edge capable of piercing skin. This includes:
- Used needles and syringes
- Lancets (used for blood glucose testing)
- Auto-injectors (like EpiPens or hormone injections)
- Insulin pens with attached needles
- Capillary tubes and slides
If it pokes, it’s a sharp. If it’s used, it’s biohazardous waste. Even if the needle looks clean, it may still carry trace amounts of blood or bodily fluids that pose an infection risk.
Step 1: Choose the Right Container
The single most important tool in safe disposal is an FDA-cleared sharps container. Do not use household alternatives like milk jugs, soda bottles, or coffee cans. These containers are not puncture-resistant, leak-proof, or secure. Studies show that facilities using proper FDA-cleared containers experience 78% fewer needlestick injuries compared to those using improvised solutions.
An FDA-cleared sharps container must meet specific technical standards:
- Material: Heavy-duty plastic with a minimum thickness of 0.04 inches (1.02 mm).
- Lid: Tight-fitting and puncture-resistant, capable of withstanding 13 pounds per square inch of pressure.
- Stability: Designed to stay upright, with a base width-to-height ratio of at least 1:3.
- Labeling: Must display the international biohazard symbol (at least 1 inch high) on a contrasting background.
You can buy these containers at pharmacies, medical supply stores, or online. Prices vary by size. A standard 1.5-gallon countertop container costs between $8.99 and $12.99. Wall-mounted units range from $14.99 to $24.99. While this might seem like an added expense, consider that the average cost of post-exposure prophylaxis after a needlestick injury is over $3,000. The container pays for itself in safety.
Step 2: Store Sharps Correctly at Home
Once you have your container, placement matters. Keep it within arm’s reach of where you administer injections-this is often called the "point of care." OSHA guidelines recommend keeping sharps containers no more than 6 feet away from the injection site. For home users, this means having one in the bathroom or bedroom where you take your meds.
Here are the golden rules for storing sharps:
- Never recap needles. Recapping is responsible for nearly half of all accidental needlesticks. If you must recap for transport (which is rare), use the one-handed scoop technique, but ideally, just drop the needle directly into the container.
- Drop, don’t push. Place the needle into the opening. Never press down on the contents inside the container. This can force a needle through the bottom or cause it to pop back out.
- Keep it closed. Always keep the lid shut when not actively disposing of a needle to prevent children or pets from accessing it.
- Store securely. Keep the container out of sight and reach of children. A locked cabinet or a high shelf works best.
Step 3: Know When to Replace the Container
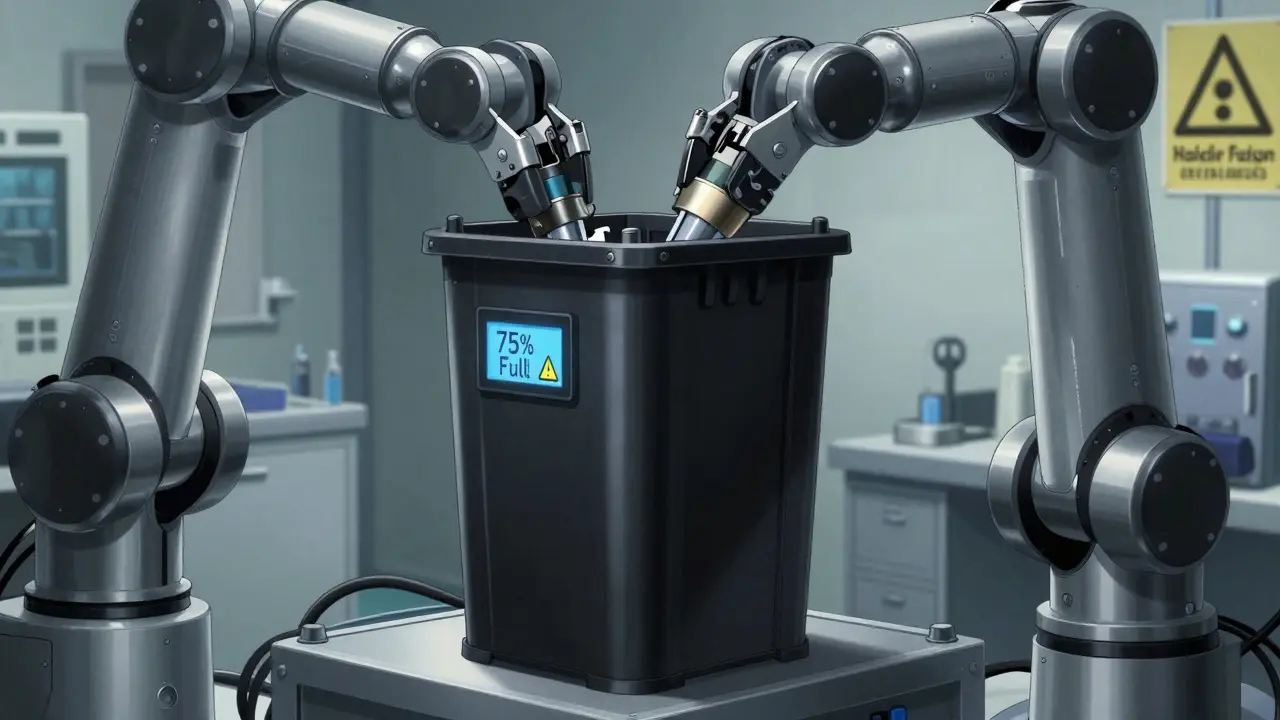
Timing is critical. Most people wait too long, which leads to dangerous overfilling. Manufacturers mark a "fill line" on their containers, usually at the ¾ full level. Do not exceed this line.
For countertop units, stop adding sharps when there are 1-2 inches of space left at the top. For wall-mounted units with a fill window, replace the bag or container when sharps become visible at the indicator. Overfilled containers are the primary cause of disposal-related injuries. According to FDA incident reports, 28% of improper disposal incidents involve containers filled beyond the recommended limit.
When the container is full, seal it tightly according to the manufacturer’s instructions. Many modern containers feature a locking mechanism that prevents reopening once sealed. Do not try to tape it shut with duct tape unless the container specifically allows it; the built-in seal is designed to be tamper-evident and secure.
Step 4: Find a Disposal Location
Now you have a sealed, full container. Where does it go? You cannot put it in your regular household trash or recycling bin. This is illegal in many jurisdictions and extremely dangerous for waste management workers.
Instead, look for one of these three options:
| Option | Description | Pros & Cons |
|---|---|---|
| Pharmacy Drop-Off | Many chains like Walgreens or CVS accept sealed sharps containers. | Pro: Convenient, often free. Con: Policies vary by state and location; call ahead. |
| Hospital/Clinic | Most healthcare facilities have designated medical waste bins. | Pro: Reliable acceptance. Con: May require an appointment or fee; limited hours. |
| Municipal Hazardous Waste Facility | Local government-run collection sites for hazardous materials. | Pro: Officially sanctioned disposal. Con: Can be far away; may have limited operating days. |
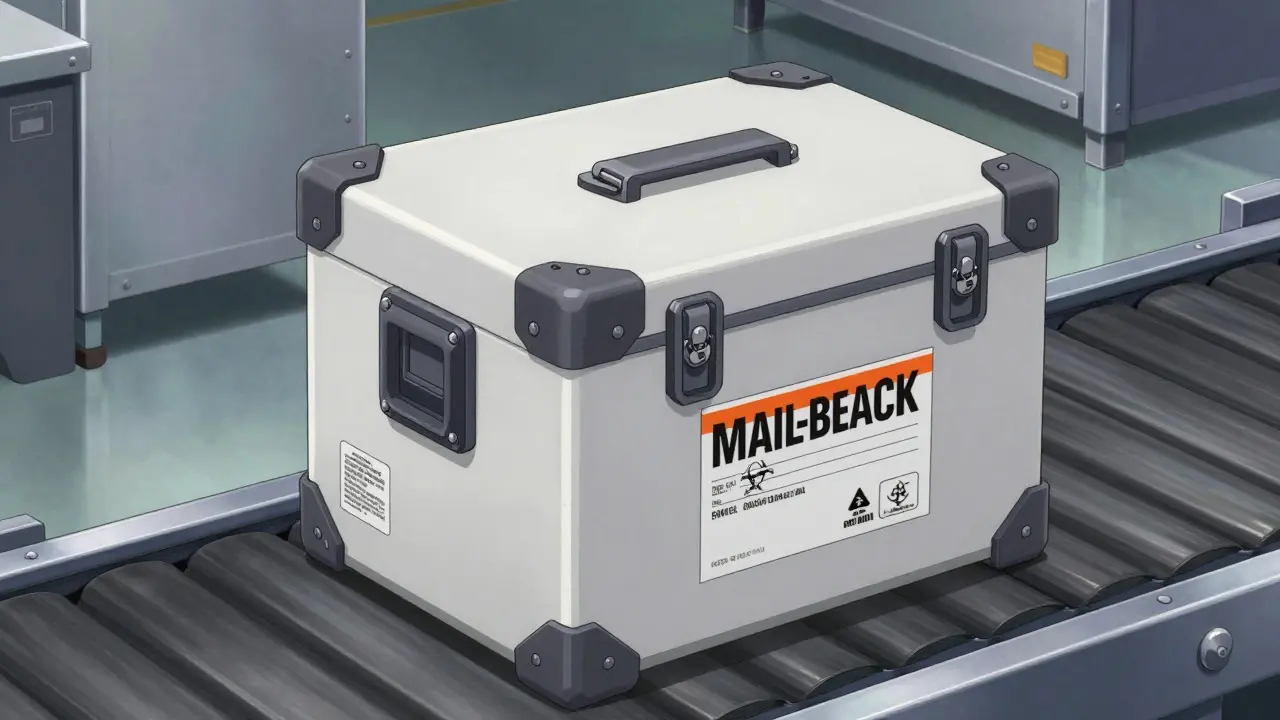
| Mail-Back Programs | Companies send you a prepaid box to mail your full container. | Pro: No driving required. Con: Costs money ($20-$50 per box); environmental impact of shipping. |
If you live in a rural area, accessibility can be a challenge. Dr. David Pate, former CMS Administrator, noted that only 37% of rural counties have easily accessible disposal sites. In these cases, mail-back programs are often the safest and most practical solution. Services like Sharps Compliance or Stericycle offer kits that include the container and a prepaid shipping label.
What About Community Take-Back Events?
Many cities host periodic hazardous waste collection events. These are great opportunities to dispose of old stockpiles. Check with your local Department of Public Works or Health Department for schedules. However, do not rely solely on these events for routine disposal. They happen infrequently, and storing a full container for months increases the risk of accidents or leaks.
Common Mistakes to Avoid
Even well-meaning people make errors. Here are the most frequent mistakes documented by the FDA and CDC:
- Using non-puncture-resistant containers: Plastic bottles break. Glass jars shatter. Only use FDA-approved hard plastic containers.
- Recapping needles: As mentioned, this is dangerous. Drop the needle straight in.
- Overfilling: Respect the fill line. It’s there for a reason.
- Mixing with other trash: Never place the sharps container inside a regular trash bag before taking it to a drop-off site. Keep it separate until you hand it over to authorized personnel.
- Ignoring state laws: Regulations vary. California requires red containers with biohazard symbols. New York mandates locked containers when not in use. Check your local health department’s website for specific rules.

Cost vs. Safety: Is It Worth It?
Let’s talk numbers. Improper disposal costs $0 upfront. But the hidden costs are massive. A single needlestick injury can lead to weeks of testing, potential treatment for HIV or hepatitis, and significant emotional distress. The average medical cost for post-exposure prophylaxis is $3,267. Add in lost wages and legal liabilities, and the bill balloons.
In contrast, a year’s supply of sharps containers costs roughly $147.50 per patient. That’s less than $12 a month. Compare that to the peace of mind knowing your family, neighbors, and sanitation workers are safe. The math is clear. Proper disposal is an investment in public health, not just a personal chore.
Special Considerations for Travelers
If you travel frequently, you need a plan. TSA allows passengers to carry medically necessary sharps in their carry-on luggage. You must declare them at security screening. Use a small, portable, FDA-approved travel-sized sharps container. Never pack loose needles in checked baggage. If you’re flying internationally, check the destination country’s regulations, as some nations have strict import rules for medical devices.
Environmental Impact
Medical waste management is a growing concern globally. A 2023 study in the *Waste Management Journal* estimated that improper disposal contributes to millions of needlestick injuries worldwide. By using certified disposal services, you ensure that your sharps are incinerated or sterilized according to EPA guidelines, minimizing environmental contamination. Mail-back programs use specialized packaging that meets DOT transportation standards (49 CFR Parts 171-180), ensuring safe transit to treatment facilities.
Can I put used needles in the regular trash?
No. Putting used needles in regular trash is dangerous and often illegal. Sanitation workers and recycling plant employees are at high risk of needlestick injuries. Always use an FDA-approved sharps container and dispose of it through a pharmacy, hospital, or mail-back program.
Do I need to recap my needles before throwing them away?
No, you should never recap needles. Recapping is a leading cause of accidental needlesticks. Instead, drop the uncapped needle directly into the sharps container. The container is designed to protect you from the sharp point.
What kind of container should I use for home sharps disposal?
You must use an FDA-cleared sharps container. These are made of heavy-duty, puncture-resistant plastic with a tight-fitting lid and a biohazard label. Do not use household containers like milk jugs or soda bottles, as they are not safe or secure.
Where can I drop off my full sharps container?
Look for drop-off locations at local pharmacies (like Walgreens or CVS), hospitals, clinics, or municipal hazardous waste facilities. Some areas also have community take-back events. If none are nearby, consider a mail-back service.
How do I know when my sharps container is full?
Most containers have a fill line marked at the ¾ level. Stop adding sharps when you reach this line. For countertop units, leave 1-2 inches of space at the top. Never overfill the container, as this increases the risk of needlesticks during handling.
Is it expensive to dispose of sharps properly?
The annual cost for a typical user is around $147.50 for containers. While this is a cost, it is significantly lower than the potential medical expenses from a needlestick injury, which can exceed $3,000. Many pharmacies offer free drop-off, making the ongoing cost minimal.